This article is part of our Mid-Autumn Festival Family Guide. Sign up for our newsletter to receive our best activity, recipe and craft ideas before every Chinese holiday.
I remember walking through Victoria Park in Hong Kong on the night of the Mid-Autumn Festival and seeing countless kids happily carrying brightly lit lanterns. Indeed, making lanterns for the Mid-Autumn Festival remains a cherished and widely-practiced children’s activity that’s really easy to keep alive at home.
Lantern making is a traditional Chinese art and even the crafts schoolchildren make in their classrooms in the days leading up to the Mid-Autumn Festival can be spectacular creations built from wire and colored cellophane. While it’s possible to replicate these efforts in your own home, I’d suggest sticking with a balsa wood frame and a simple design, if you’re pressed for time and need to successfully create a lantern on your first try. Trust me.
Mid-Autumn Festival lanterns are customarily shaped into whimsical animals like fish and rabbits or geometric shapes like spheres and cylinders. The design below creates a simple and beautiful rectangular lantern that your child can decorate with additional pictures, Chinese characters or streamers. The options are fairly limitless.
Once you’ve built your lantern, you should hang it from the end of a rod with a string. That way, you can either carry it with you as you walk around the neighborhood on the night of the Mid-Autumn Festival or hang it up outdoors as a decoration for your family’s celebration.
This project takes about an hour and creates a rectangular lantern that’s about 10″ tall and 5″ wide. It casts a nice light and it’s the perfect size for a child to carry without being too bulky. Here are the materials you’ll need to build each lantern.
– 3 36″ x 1/8″ x 1/8″ square balsa wood dowels
– 1 20″ x 20″ sheet of tissue paper
– 1 foot of picture hanging wire
– 1 tea light candle
– 1 roll electrical tape or masking tape
– 2″ piece of double sided tape
– basic crafting glue
– tape measure
– wire cutters, needle nose pliers and scissors
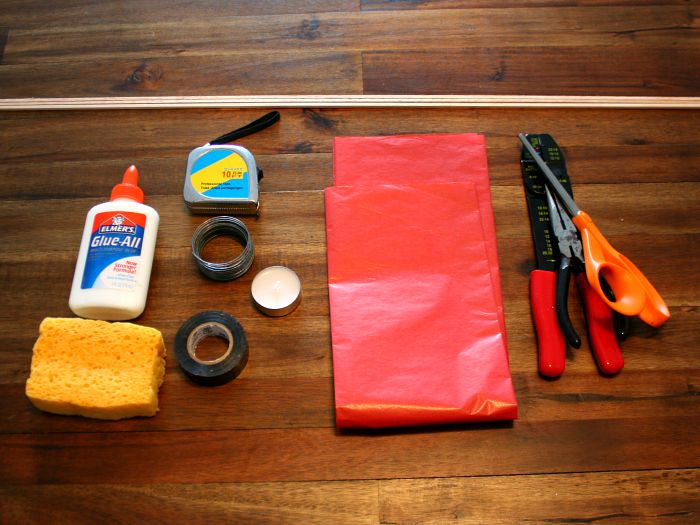
I got ready by gathering all of my materials. In addition, you’ll want to find a clean work surface that’s at least 3′ by 3′.
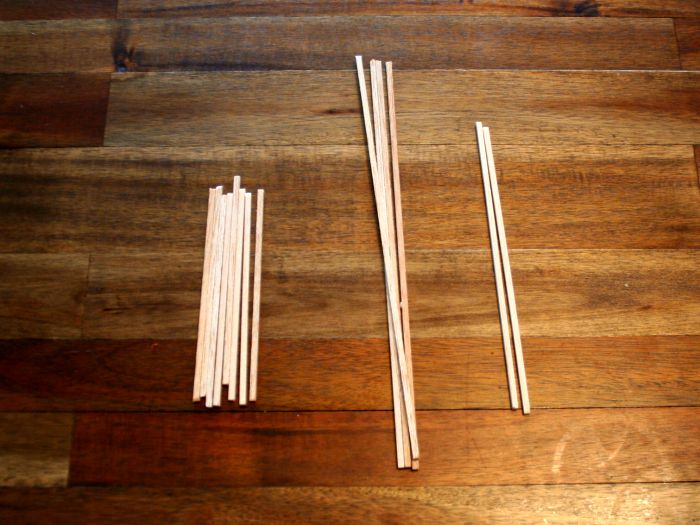
I started by cutting down my dowels into 4 – 10″ lengths, 8 – 5″ lengths and 2 – 7″ lengths. Balsa wood is soft enough that you can cut it with a basic pair of scissors.
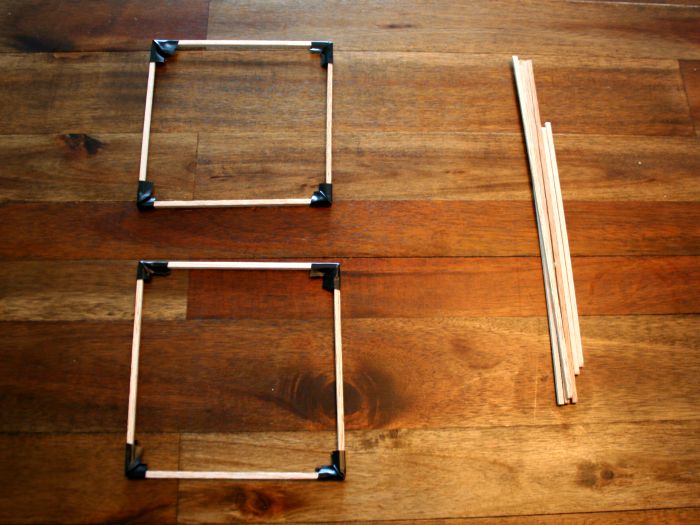
Next, I taped the 5″ lengths into two squares with my electrical tape. These squares are the lantern’s base and top.
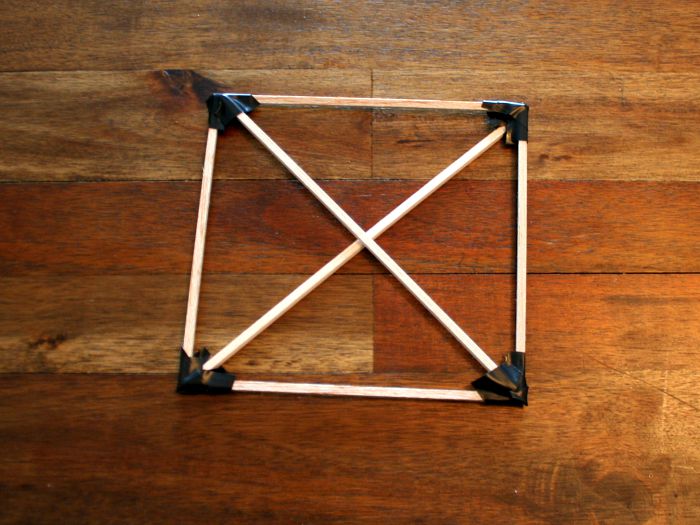
In one of the squares, I taped the 7″ lengths together into a cross. This adds stability to the base and provides a place to secure the lantern’s candle.
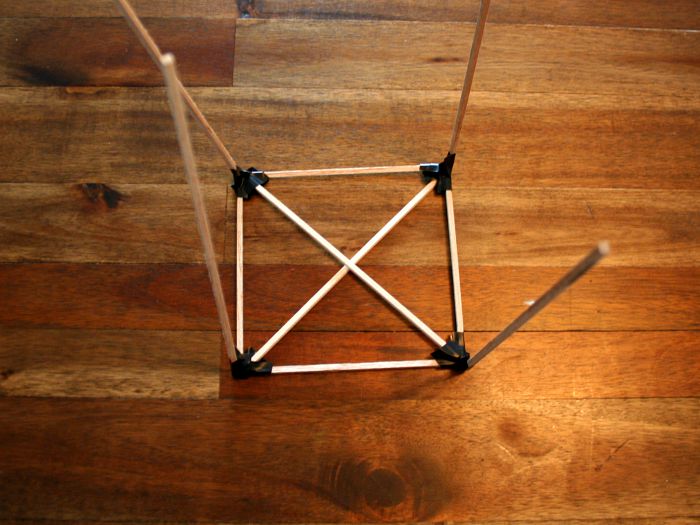
Next, I put the lantern’s vertical supports into place. Don’t worry about being too fine — if you’ve got a builder’s square to ensure that your corners are exactly 90 degrees, use it. If not, don’t stress. Just make sure all the balsa wood sections are secure.
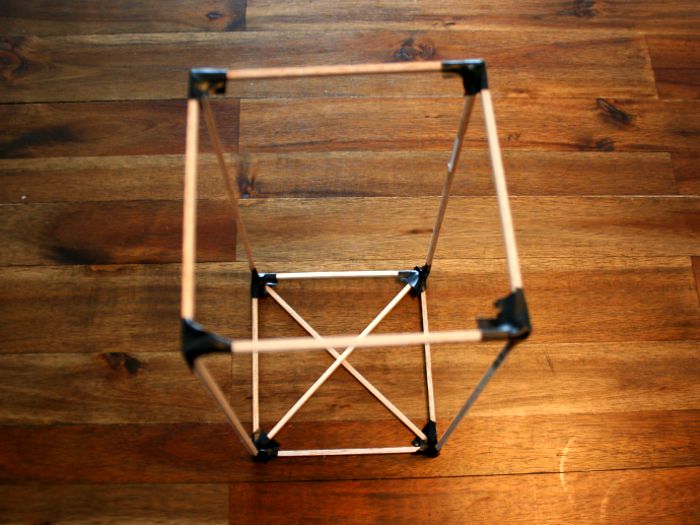
After the vertical supports were complete, I added the lantern’s top and secured it with electrical tape.
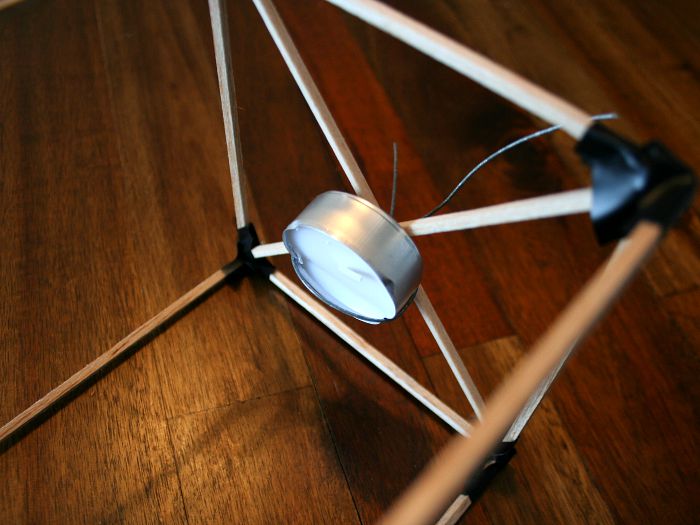
I attached the lantern’s candle to the cross at the base. You can either use two loops of wire, like I’ve done here, or simply use strips of double-sided tape. Keeping this candle secure once it’s lit is really important, so use whichever option leaves you most confident!
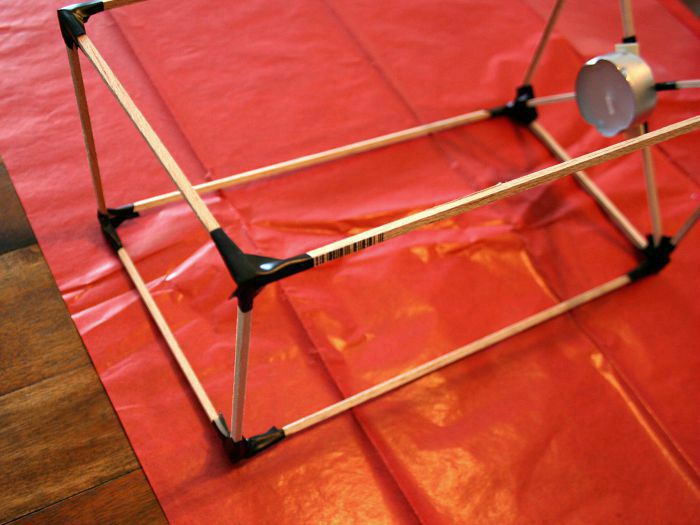
Next, I prepared to add the lantern’s outer skin. Measure your tissue paper, so that it extends an inch past the top and base of your lantern, and confirm that you have enough paper to wrap around the lantern’s four sides like a present.
Once you have the paper measured, this is a great time for kids to decorate with Chinese characters or pictures. Paint and permanent markers both work really well.
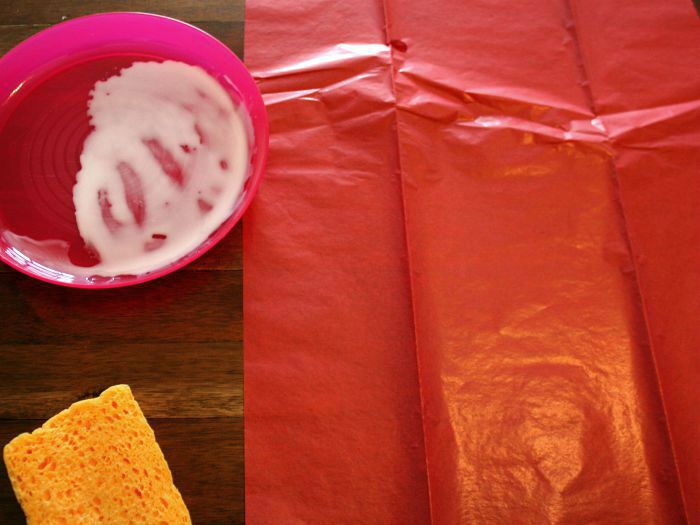
I squeezed about a tablespoon of glue onto a plate and diluted it with water, so that the mixture could be absorbed by a sponge. Cover the entire surface of your tissue paper with the glue mixture, paying particular attention to reach all the edges and corners.
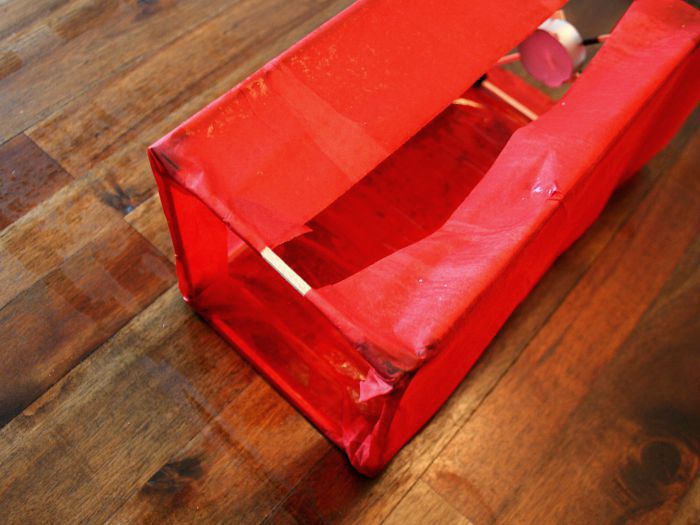
Once the tissue paper was covered with glue, I wrapped the lantern frame, tucking the excess paper around the edges of the lantern’s top and base.
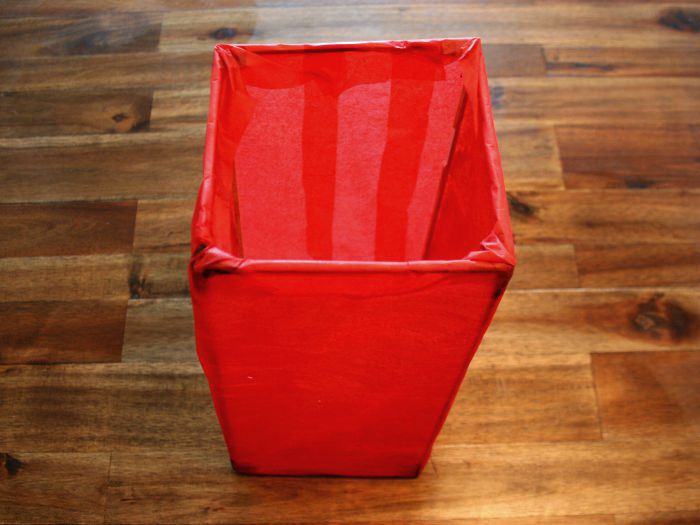
I stood my lantern up and checked to make sure all the sides were covered. You’ll see I patched a gap in the tissue paper on the far side with one extra strip of paper.
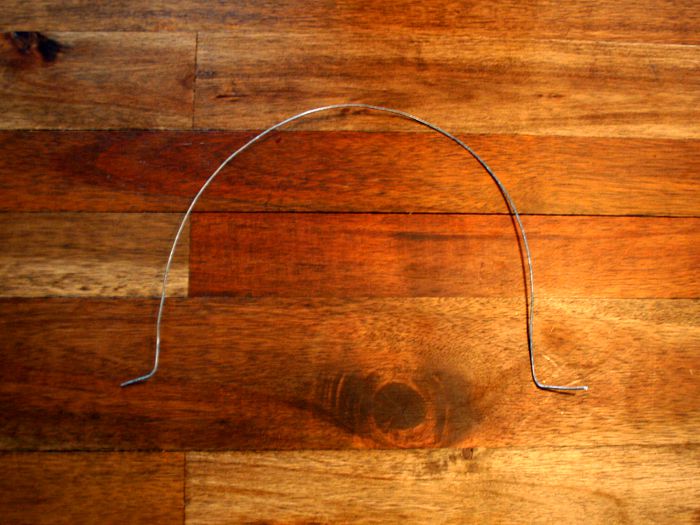
I fashioned a lantern handle from my picture hanging wire and inserted the ends through the tissue paper just below the lantern’s top.
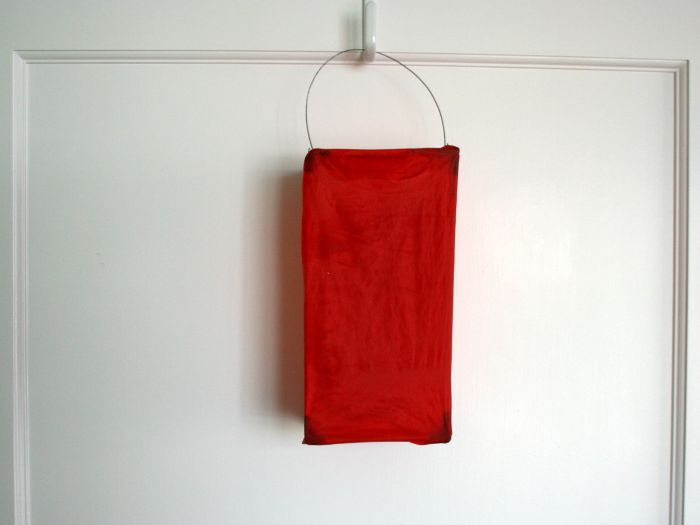
I hung up the completed lantern to dry. As the tissue paper dries, it will add structure to the lantern and secure itself to the frame. No additional gluing necessary!
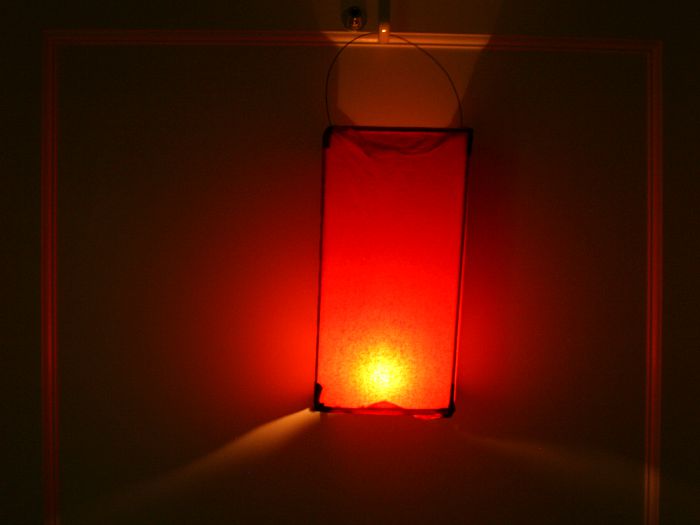
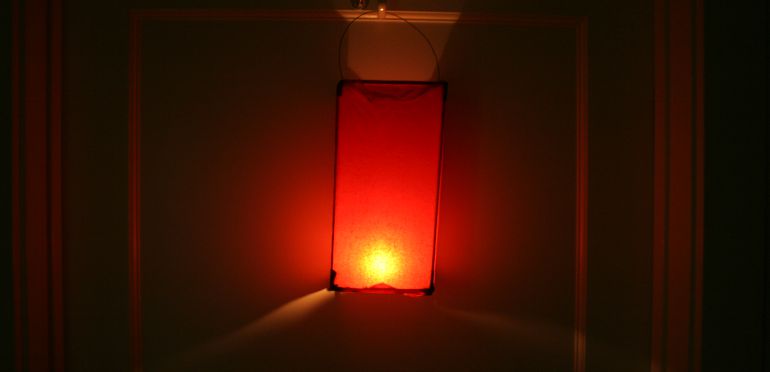
Once the lantern is 100% dry, it’s ready to use. To avoid a towering inferno right off the bat, I’d suggest using a stick lighter to help you reach down into the lantern to the candle. You can use a stick and piece of string to create a rod to hold the lantern aloft as you walk through the night.
Your turn! Can you share any tips from your experience making lanterns? Want to ask a question before making one yourself? I’d love to hear from you in the comments section below!


Melissa Hughes
I used LED tea lights and taped them onto the X, leaving the on-off switch uncovered, because I was making it in a classroom and wanted to make sure it didn’t catch on fire.
Wes Radez
Using those LED tea lights is a great solution, Melissa! So glad to hear that the lanterns came out well for your kids! ~Wes