This tutorial is part of our collection of Craft and DIY Projects. Sign up for our newsletter to receive family-friendly activity, recipe and craft ideas throughout the year!
Though the local news anchor may triumphantly announce the start of spring on March 20, winter retains its grip on many parts of United States until much later in the year. It certainly felt that way when we lived in New York and bundled up in heavy coats through the month of April.
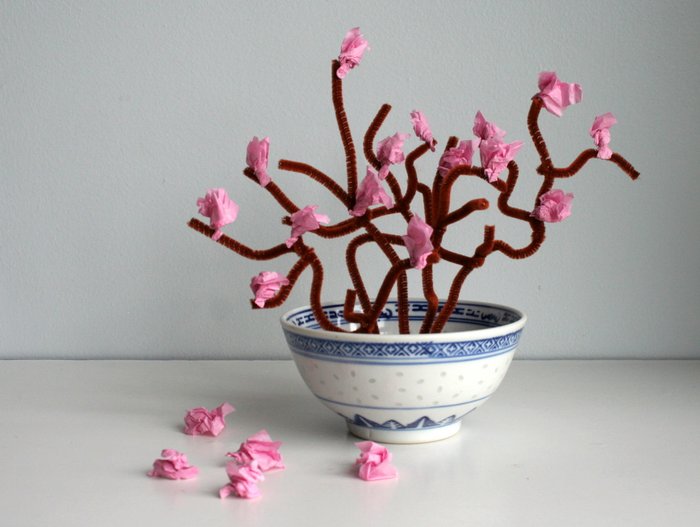
If you’re still waiting for signs of spring to appear in your neighborhood, then try this Plum Blossom Tree craft project from Alex Kuskowski, author of Super Simple Chinese Art. Beautiful plum blossoms are the first flowers to bloom each year in China, oftentimes amidst frost and snow, making them a symbol of resilience and perseverance while waiting for warmer temperatures to arrive.
Because they foretell spring’s approach, branches filled with pink and red plum blossoms are a popular Chinese New Year decoration. The plum blossom’s five petals are also thought to symbolize the blessings of longevity, prosperity, health, virtue and good living. All fortuitous things to have around the house during this time of fresh growth and new beginnings.
Practically speaking, this Plum Blossom Tree project is a big win for parents. It uses simple materials, provides many opportunities for kiddos to express their creativity and produces a craft that looks really cool. It will brighten up a corner of your child’s room while you await the arrival of April showers and May flowers.
The fun in this craft project for kids is twisting pipe cleaners together into the tree branches and laughing as you glue on the tissue paper plum blossoms (while trying to avoid gluing your fingers together). If you want to extend the project, pick a plain pot that you can decorate with paint.
Here’s how to make a plum blossom tree, step-by-step. The detailed tutorial with pictures and directions is at the bottom of the page.
Your turn! Can you share any tips from your experience making this craft? Want to ask a question before making them yourself? I’d love to hear from you in the comments section below!
Plum Blossom Tree
Makes: 1 Tree | Prep Time: 5 Minutes | Project Time: 30 Minutes
Materials
1 small pot or bowl
1 small ball of clay
6 brown pipe cleaners
1 sheet pink tissue paper
Glue
Scissors
Step-By-Step Tutorial
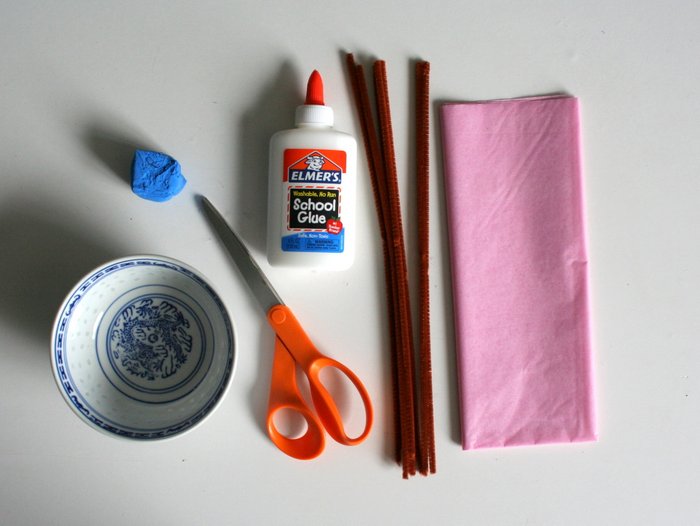
This is a simple project using materials you can pick up during a single trip to the craft or dollar store. Because you can gather everything so easily, this craft is perfect for a last minute sick day or unexpected rainy afternoon around the house. All you need are a half dozen pipe cleaners, a sheet of pink tissue paper, a lump of clay and a bowl or small pot.
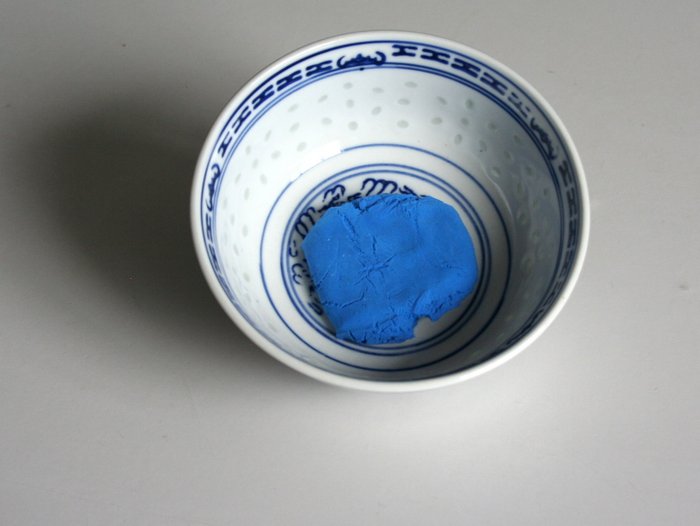
Start by flattening your ball of clay and putting it in the bottom of your pot. If you want to extend this project, you can have your kiddo decorate the pot with paint.
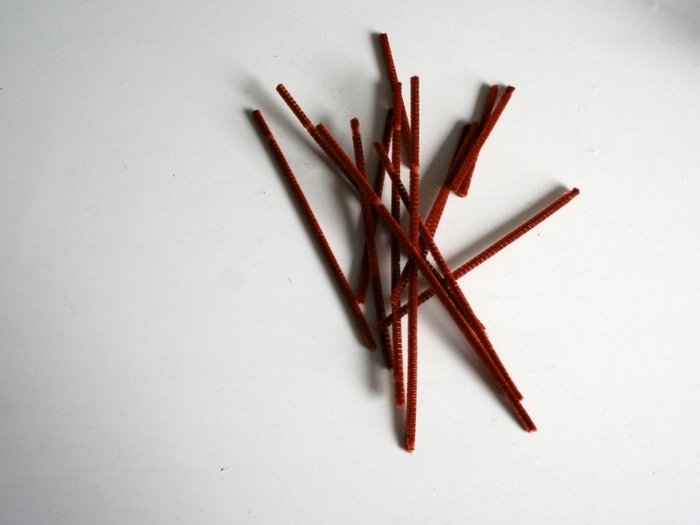
Cut the pipe cleaners into different lengths. You want to leave 4 or 5 longer pieces that will act as the main tree branches.
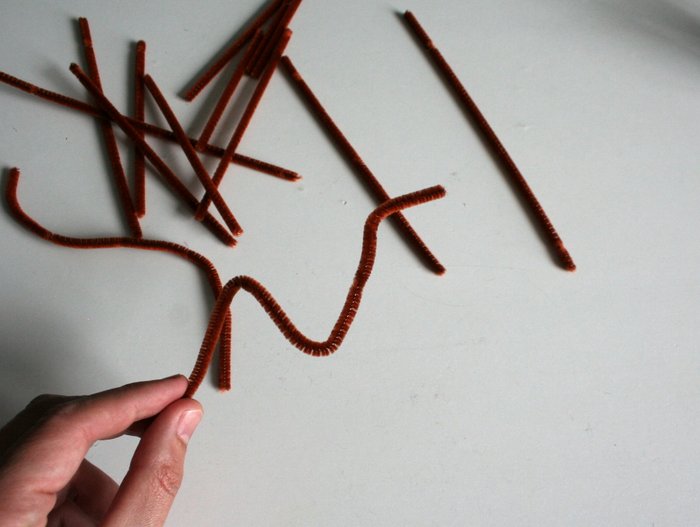
Twist the long pipe cleaner lengths to look like tree branches…
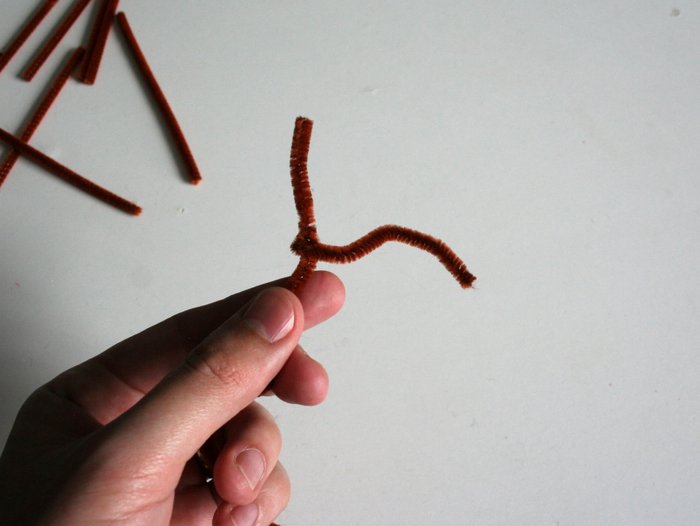
…then twist the shorter pieces around the longer pieces at intervals.
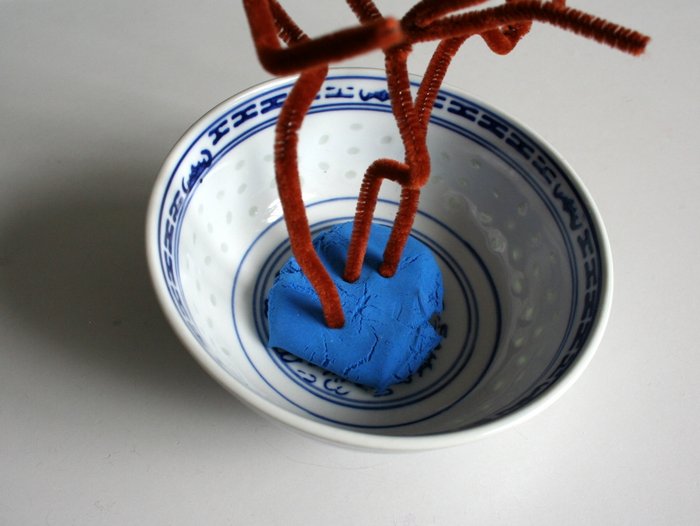
Stick the pipe cleaner branches into the clay at the bottom of your pot.
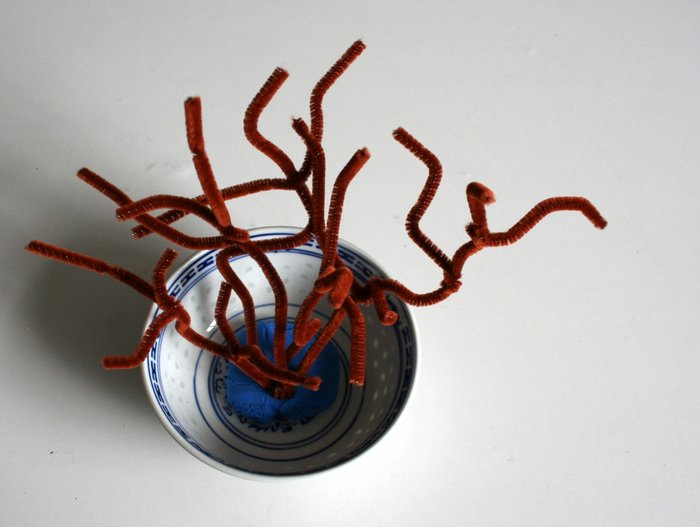
Repeat until all of your branches are anchored in the clay. Fan them out, so that the entire space is filled.
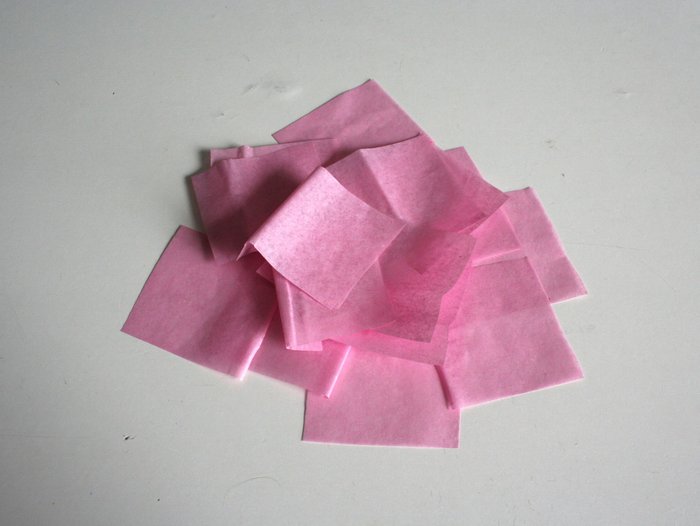
Cut the tissue paper into 2″ squares. You’ll want about 20 squares in all.
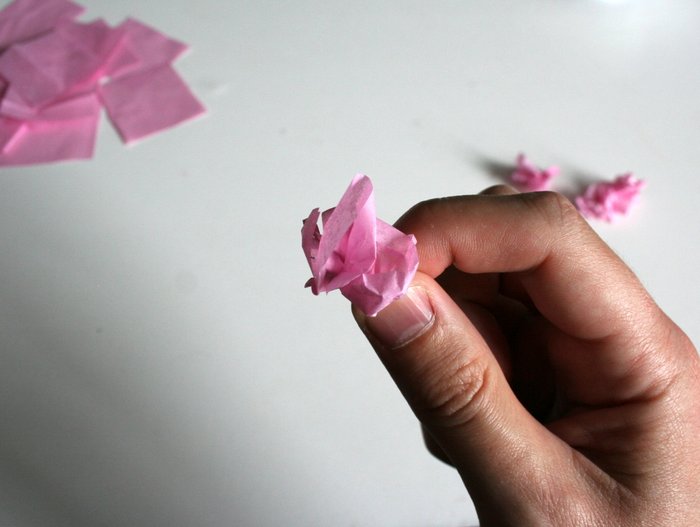
Pinch the center of each square and twist the sides into a flower shape. Repeat until you’ve turned all the squares into little flowers.
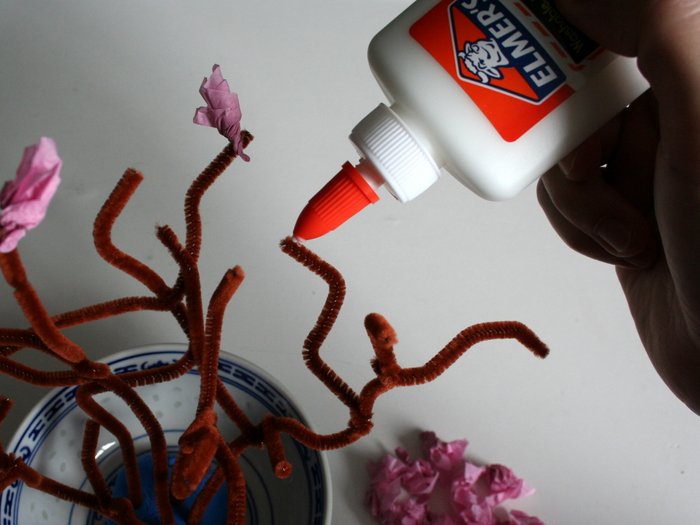
Put dots of glue on the ends of the pipe cleaner branches, then press a tissue paper flower onto each drop. Set aside until the glue dries. Don’t get frustrated if some of the flowers fall from the branches at first (just like the blossoms do in real life!).

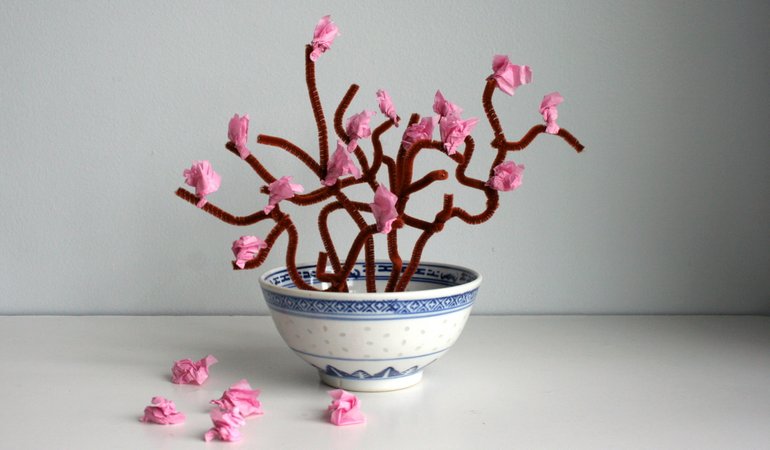
Display your plum blossom tree on a shelf near a window. You can even fill the bowl with dirt, if you want a more realistic look.


Leave a Reply